
Have you ever wondered, "How do I make candles?" Whether you want to create a cosy ambience in your home, craft handmade gifts, or start a new hobby, candle making is a fun and rewarding experience. The best part? It’s easier than you think!
In this blog, we’ll walk you through the entire process of making candles from scratch, covering everything from choosing the right wax to adding fragrance and colour. By the end of this guide, you’ll be ready to create your own beautiful candles!
Why Make Your Own Candles?
Before we dive into the step-by-step process, let’s talk about why making your own candles is a great idea:
Customisable Scents & Colours – Create candles that match your style and favourite fragrances.
Cost-Effective – Handmade candles are often cheaper than store-bought ones.
Better Ingredients – You control the ingredients, ensuring they’re high-quality and non-toxic.
Fun & Relaxing – Candle making is a great creative outlet and stress reliever.
Perfect for Gifts or Selling – Handmade candles make thoughtful gifts or a great business idea!
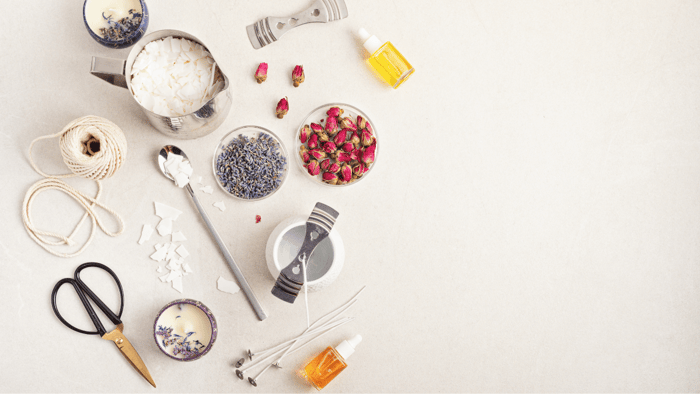
What You Need to Make Candles
To make your own candles, you’ll need a few essential materials. Here’s a list of what you’ll need:
Ingredients & Materials:
Wax – Soy wax, paraffin wax, or beeswax (measured in grams)
Fragrance Oil – For the scent (measured in grams)
Dye (Optional) – Candle dye or mica powder for colour
Wicks – Cotton or wooden wicks
Wick Holders – To keep wicks centred
Containers or Moulds – Glass jars, tins, or silicone moulds
Pouring Pitcher – To melt and pour wax safely
Double Boiler – To melt the wax
Thermometer – For checking wax temperature
Stirring Stick – To mix fragrance and dye
Now that you have everything ready, let’s start making candles!
Step-by-Step Guide - How Do I Make Candles?
Step 1: Choose Your Wax
The type of wax you choose affects how your candle burns, its scent throw, and its overall quality. Here are some common wax options:
Soy Wax – Natural, clean-burning, and holds fragrance well.
Paraffin Wax – Affordable and provides a strong scent throw.
Beeswax – Natural and has a mild honey scent but is more expensive.
Coconut Wax – A great alternative with a smooth, luxurious finish.
Step 2: Measure Your Wax
Determine how much wax you need based on your container size. A good rule of thumb:
For a 200ml jar, you’ll need about 160g of wax.
Weigh your wax using a kitchen scale to ensure accuracy.
Step 3: Melt the Wax
Using a double boiler:
Fill a pot with a few inches of water and place a heat-safe bowl on top.
Add the wax and melt it slowly, stirring occasionally.
Use a thermometer to monitor the temperature – be sure to check the optimum temperature for the type of wax that you have chosen to make your candles.
Step 4: Add Fragrance Oil
Now comes the fun part – adding fragrance!
The standard fragrance load is 8-10% of the wax weight.
If you’re using 160g of wax, add 13-16g of fragrance oil.
Stir well for 1-2 minutes to allow the fragrance oil and
Step 5: Add Colour (Optional)
If you want coloured candles:
Add a few drops of liquid dye or a pinch of mica powder.
Stir until fully dissolved for an even colour.
Step 6: Attach the Wick
Place the wick in the centre of your container.
Use a wick sticker or glue to secure it to the bottom.
Hold it in place with a wick holder or a pencil across the rim.
Step 7: Pour the Wax
Let the wax cool to the optimal pour temperature for your chosen wax before pouring (to avoid sinkholes and bubbles).
Slowly pour the wax into your container.
Leave a little space at the top for a smooth finish.
Step 8: Let the Candle Cure
Allow the candle to set at room temperature for at least 24 hours.
If you are using soy wax, let it cure for up to 14 days before lighting for the best scent throw.
Step 9: Trim the Wick & Enjoy!
Trim the wick to about 5mm before burning.
Light your candle and enjoy the cosy ambience!
Troubleshooting Common Candle-Making Problems
Even experienced candle makers face issues. Here are some common problems and solutions:
1. Sinkholes
Cause: Wax cooling too fast.
Fix: Reheat and pour a small layer of wax over the top to smooth it out.
2. Weak Scent Throw
Cause: Not enough fragrance oil or added at the wrong temperature.
Fix: Use 8-10% fragrance oil and stir thoroughly at the right temp.
3. Tunnelling
Cause: Wick is too small.
Fix: Use the correct wick size for your container.
4. Uneven Burning
Cause: Wick placed off-centre.
Fix: Secure the wick in the centre before pouring wax.
Candle Safety Tips
To enjoy your candles safely, follow these tips:
Never leave a burning candle unattended.
Trim the wick before each use.
Keep candles away from flammable objects.
Burn for at least 4 hours on the first burn to prevent tunnelling.
Final Thoughts: How Do I Make Candles?
Making candles at home is a rewarding, creative process that allows you to craft custom scents and colours tailored to your style. Now that you know how do I make candles, you can experiment with different waxes, fragrances, and dyes to create your perfect candle!
Whether you’re making candles for personal use, gifts, or even to start your own business, you’re now equipped with the knowledge to get started. So grab your supplies, have fun, and enjoy the magic of candle-making!
Happy candle making! 🕯✨
Discover Premium Fragrance Oils for Candles!
Looking to create your own stunning candles? House of Scent offers premium, undiluted fragrance oils that closely match popular scents. Whether you're crafting for personal use or starting a business, we have the perfect fragrances to bring your candles to life!