
Table of Contents
Wax melts have become a popular way to bring cosy scents into your home without the need for an open flame. They are versatile, easy to use, and perfect for gifting or adding a personalised touch to your living space. If you’ve ever wondered how to make wax melts, this comprehensive guide will walk you through everything you need to know — from choosing your wax to adding fragrance and colour, to the final set in clamshells. By following these step-by-step instructions, you can create beautifully scented, vibrant wax melts every time.
Whether you’re new to candle-making or a seasoned hobbyist, making wax melts is satisfying and accessible. Unlike candles, wax melts do not require wicks, which simplifies the process significantly while allowing you to explore fragrance oils and experiment colourants. This guide will not only show you the technique but also offer handy tips for a smooth, professional finish.
What You Will Need
Before you start, gather the following materials and equipment. Ensuring you have everything on hand will make the process smoother and safer:
Materials:
Wax (paraffin, soy, or a blend suitable for melts)
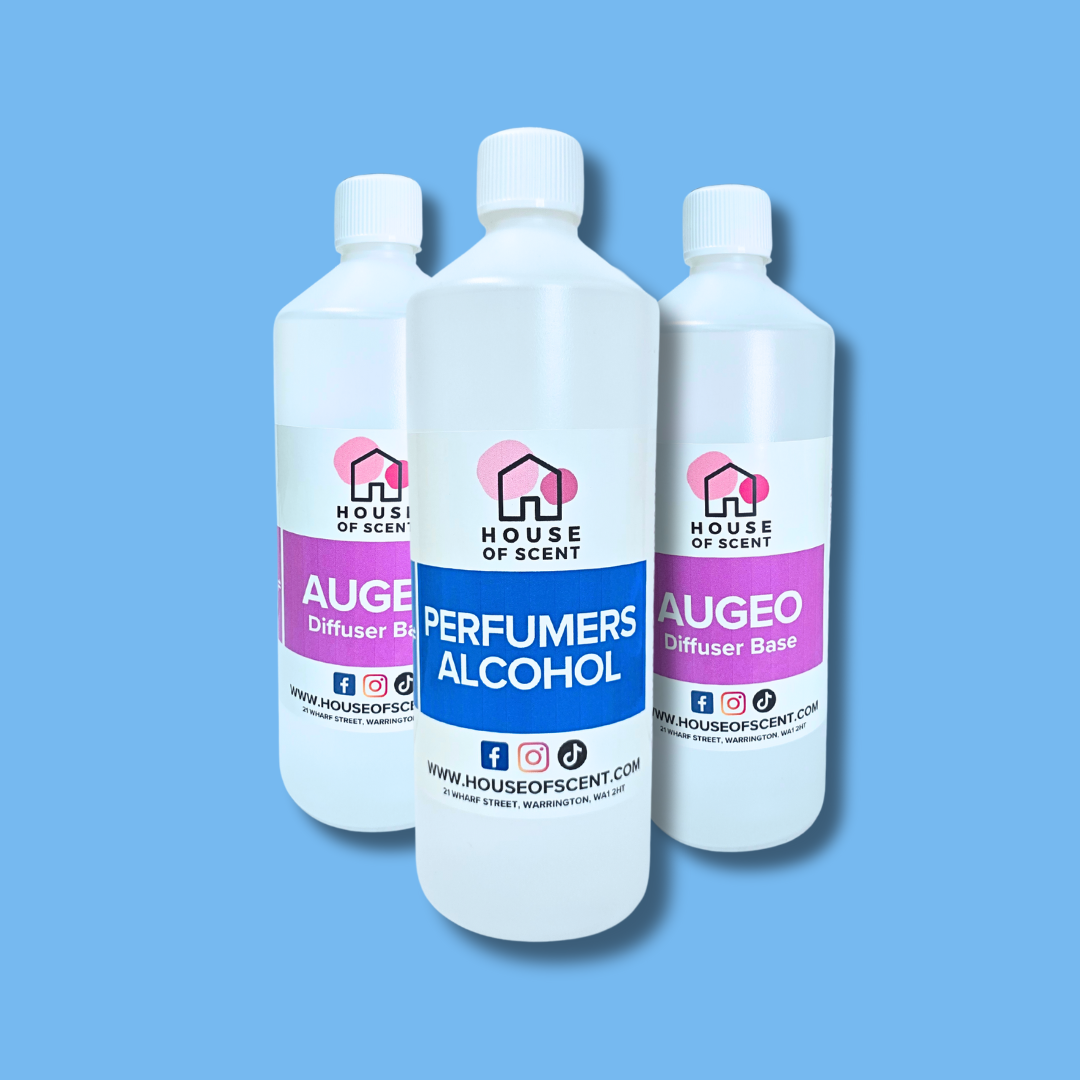
Fragrance oil of your choice > View House of Scent Fragrance Oils
Clamshells for moulding
Equipment:
Digital weighing scales
Stainless steel or glass pouring jug
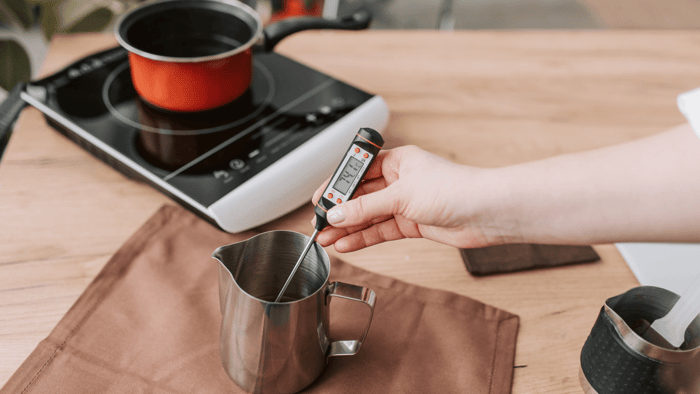
Milk thermometer or digital probe thermometer
Metal spoon for stirring
Stainless steel pan
Melting pot
Kitchen roll
Surface protector (an old tea towel works fine)
Nitrile gloves or similar for hand protection
Apron to protect your clothes
Safety First:
Cover your work surface and wear the appropriate PPE (personal protective equipment). Wax and fragrance oils can cause skin irritation, and spills can damage clothing or surfaces. Preparing your workspace properly ensures a safe and enjoyable wax melt-making experience.
Step-by-Step Instructions: How to Make Wax Melts
Step 1: Weigh Your Wax
Place the melting pot on your digital scales and ensure they are set to weigh in grams. For this example, measure 50g of wax directly into the melting pot. Precision is important here, as accurate measurements help the wax melt evenly and maintain consistency in texture and fragrance strength.
Step 2: Set Up a Double Boiler
Half-fill a stainless steel pan with cold water and place it on your cooker hob. Sit your melting pot over the pan to create a gentle double boiler. Turn the heat to low-medium; melting wax gradually is crucial to prevent overheating and discolouration.
Step 3: Melt the Wax
Once the wax begins to melt, insert your thermometer. Allow the wax to reach 80–85°C, though this can vary depending on the type of wax used — always refer to the wax manufacturer’s description for recommended melting and pouring temperatures. This ensures the wax is fully liquefied and ready for fragrance and colour. Once the correct temperature is reached, transfer the wax into a pouring jug that’s already on your scales, keeping the thermometer in the jug to monitor the temperature throughout the next steps.
Step 4: Add Colour
Immediately add your chosen colourant to the melted wax. Between 1–10 drops is usually sufficient, depending on the shade desired. Stir for approximately 30 seconds to ensure the colour is evenly distributed. For vibrant colours, shake the liquid dye beforehand so it mixes thoroughly.
Step 5: Add Fragrance
When the wax cools slightly — usually around 70–75°C, though this may vary depending on the type of wax used (always check the manufacturer’s recommended temperatures) — add your fragrance oil. For wax melts, the typical usage is 5–10% of the wax weight, though with particularly strong oils, less can be more. Stir continuously for about 90 seconds to fully incorporate the fragrance. This is the step where your wax melt truly comes to life, filling your workspace with its aroma and ensuring an even scent throw in the finished product.
Step 6: Pour into Clamshells or Mould
Allow the wax to cool to 65–70°C before pouring into your clamshells. Pour slowly and evenly to avoid air pockets or spills. If the wax sets with bumps, a simple trick is to pour only halfway, let it set for 15 minutes, then reheat the remaining wax and top up the clamshell. This technique gives a smooth, professional finish.
Step 7: Let the Wax Set
Allow the wax melts to set fully at room temperature. This usually takes a few hours, but the wax will be ready to use or package for gifting in about 48 hours. Do not rush this step; patience ensures a clean and stable product.
Handy Tips for Perfect Wax Melts
Use low-medium heat: When melting wax, use the lowest heat that effectively melts the wax to avoid scorching.
Mix colour thoroughly: Shake liquid dyes during the melting process to prevent streaks or uneven tones.
Check clamshells first: Before pouring all the wax, pour a small amount into the shell to check for leaks or weak spots.
Smooth out bumps: If your wax sets unevenly, pour in stages, allowing each layer to partially set before topping up.
Fragrance testing: Some fragrances are stronger than others. Start small and increase gradually if needed.
Wax Melt Safety
Working safely when learning how to make wax melts is essential to avoid accidents and ensure your products are suitable for use. Keep the following points in mind:
Avoid foreign materials in the wax, such as matches or other debris.
Never add water to the wax; this can cause splattering.
Only use burners on level, fire-resistant surfaces.
Keep wax melts away from draughts or vibrations while setting.
Store out of reach of children and pets.
Wax melts are not edible; ingestion can be harmful.
Use only with wax melt burners or approved UK electric warmers.
By following these precautions, you can enjoy making wax melts safely at home.
Why Make Your Own Wax Melts?
Making wax melts at home offers several advantages over store-bought options:
Customisation: You can control the scent strength, colour, and even create layered or swirled designs, even add glitters.
Cost-effective: Buying bulk wax and fragrance is often cheaper than purchasing individual melts.
Creative gift idea: Personalised wax melts make thoughtful gifts for friends and family.
Fun hobby: The process is satisfying and allows you to experiment with different fragrance combinations.
Additionally, learning how to make wax melts gives you confidence to experiment with other wax products, such as tarts or even container candles.
Types of Wax Suitable for Melts
Different waxes behave differently, so choose one that works for your project:
Paraffin Wax: Traditional and reliable, melts easily and holds fragrance well.
Soy Wax: Plant-based, burns cleaner and often preferred for eco-conscious crafters.
Blended Waxes: Combine properties of paraffin and soy for enhanced scent throw and smooth finish.
When following how to make wax melts, check the manufacturer’s guidelines for maximum fragrance load and melting temperatures to ensure your final product is safe and stable.
Storing and Using Wax Melts
Once set, wax melts should be stored in a cool, dry place. Clamshells protect them from dust and help preserve fragrance. When ready to use:
Place one or two melts in the top of a wax burner.
Heat with a tealight or electric warmer.
Enjoy hours of scent without the flame of a candle.
Pro tip: For layered or multi-coloured melts, break them gently to release fragrance evenly. This also allows you to mix scents for a personalised aroma experience.
Final Thoughts on How to Make Wax Melts
Making your own wax melts is an enjoyable and creative process. By following proper steps, monitoring temperatures, and adding fragrance and colour carefully, you can produce professional-quality wax melts at home. Remember to follow safety precautions, experiment with scents and colours, and allow the wax to set fully.
Whether you’re crafting for yourself, gifts, or even small-scale sales, knowing how to make wax melts opens the door to a world of scented creativity. If you plan to gift or sell your wax melts, make sure to check IFRA guidelines for fragrance usage and ensure CLP-compliant labelling, including any allergens and ingredients, to keep your products safe and legally compliant. With practice, patience, and the right techniques, your wax melts can become a staple in your home or a favourite gift item for friends and family. By mastering this craft, you not only gain a new skill but also a deeper appreciation for the art of home fragrance.
Disclaimer
This blog is for informational purposes only. While we aim to provide accurate guidance on how to make wax melts safely, readers should take care when handling hot wax and fragrance oils. If you plan to gift or sell your wax melts, make sure to follow IFRA guidelines and use CLP-compliant labelling. Always work carefully, use appropriate protective equipment, and keep wax melts out of reach of children and pets.
FAQs
Can I use any type of wax to make wax melts?
Not all waxes are ideal for wax melts, you'd need a Pillar Wax. Paraffin, soy, or blended waxes designed for melts work best. Always check the manufacturer’s instructions for melting and pouring temperatures to achieve a smooth, even finish.
How much fragrance oil should I add to wax melts?
For wax melts, the recommended fragrance oil usage is typically 5–10% of the wax weight, depending on the strength of the scent. With very strong oils, less may be more to avoid overpowering the fragrance or affecting the wax set.
Can I gift or sell the wax melts I make at home?
Yes, but if you plan to gift or sell your wax melts, ensure you follow IFRA guidelines for fragrance usage and provide CLP-compliant labelling, including any allergens and ingredients. Always prioritise safety when handling hot wax and fragrance oils.