How to Make Wax Melts with Fragrance Oils: A Complete Guide
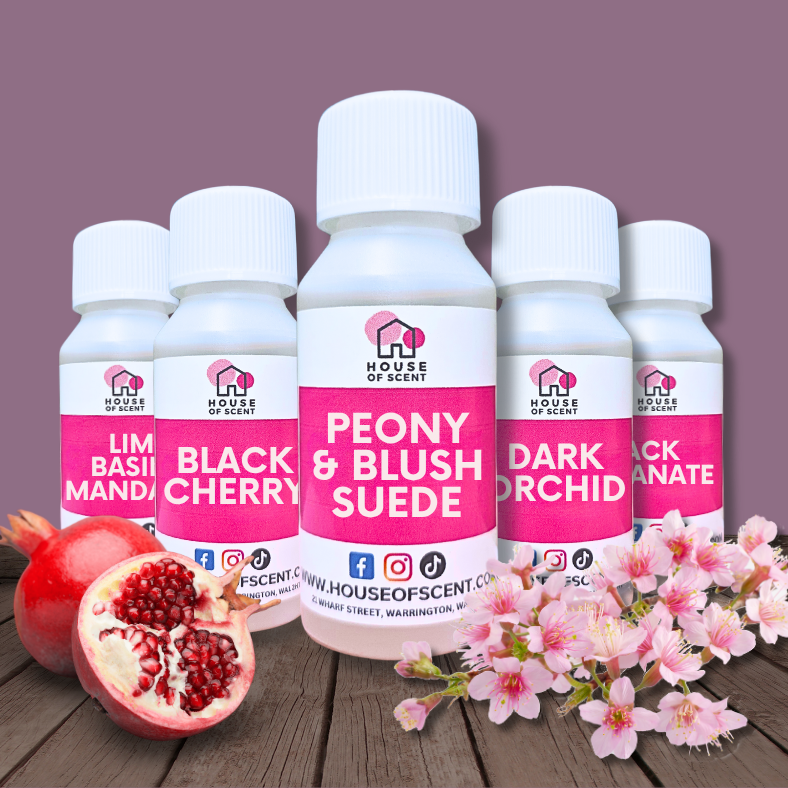
Wax melts are an excellent way to enjoy beautiful scents throughout your home without the need for an open flame. They’re easy to make, customisable, and perfect for personal use or gifting. If you’re a beginner looking to learn how to make wax melts or an experienced crafter searching for tips to perfect your process, this guide has you covered. Plus, we’ll dive into the importance of choosing the right fragrance oils to make your wax melts smell amazing and last longer. Choosing premium, undiluted fragrance oils from House of Scent is a good place to start.
Why Use Wax Melts?
Wax melts are a popular choice for fragrance lovers because they are versatile, safer than traditional candles, and allow you to experiment with different scents. Unlike candles, wax melts are flameless, making them ideal for households with children or pets.
What You’ll Need to Make Wax Melts
Before you start making wax melts, gather your supplies. Here’s a list of what you’ll need:
- Wax: Soy wax is one of the most popular options because it’s eco-friendly and holds fragrance oils well. You can also use paraffin wax, beeswax, or a blend of waxes.
- Fragrance Oils: The quality of your fragrance oils will significantly affect the final product. Choose high-quality, undiluted fragrance oils for a strong and long-lasting scent throw.
- Color Dyes or Micas: These are optional but can add a fun, creative touch to your wax melts.
- Silicone Molds: Use moulds designed for wax melts to create shapes and designs that suit your aesthetic.
- Double Boiler: A double boiler is essential for melting wax safely and evenly.
- Thermometer: Wax temperature is crucial for ensuring the fragrance oils bind properly.
- Mixing Tools: You’ll need a heat-resistant spoon or spatula to mix your wax and fragrance oils.
- Scale: Accurately measure your wax and fragrance oils for the best results.
Step-by-Step Guide to Making Wax Melts
Step 1: Choose Your Wax
The first step is selecting the right wax. Soy wax is highly recommended for wax melts because it provides a clean and even melt, holds fragrance oils well, and is biodegradable. However, if you prefer other options, paraffin wax offers an excellent scent throw, and beeswax adds a natural touch.
Step 2: Measure Your Ingredients
Accurate measurements are essential for making wax melts that perform well. Use a digital scale to measure the amount of wax you’ll need based on the size of your moulds. A general rule is to use 6-10% fragrance oil relative to the weight of your wax, depending on the recommended usage rate for the fragrance oil you’re using.
For example:
- For 500g of wax, you’ll need approximately 30-50g of fragrance oil.
Step 3: Melt the Wax
Using a double boiler, gently heat your wax over low to medium heat. Avoid overheating, as it can burn the wax or affect its ability to bond with fragrance oils. Most waxes melt around 50-70°C, but always check the manufacturer’s recommendations.
Step 4: Add Fragrance Oils
Once your wax reaches the recommended pouring temperature (usually 55-65°C for soy wax), it’s time to add your fragrance oils. This step is crucial because the fragrance oil is what gives your wax melts their amazing scent.
- Slowly pour the fragrance oil into the melted wax, stirring gently but thoroughly for 1-2 minutes to ensure the oil binds evenly.
- Use high-quality fragrance oils that are specifically formulated for wax melts. These oils are designed to work well with wax, ensuring a strong hot and cold scent throw.
Tips for Choosing the Best Fragrance Oils
When selecting fragrance oils for your wax melts, consider the following:
- Quality Matters: High-quality, undiluted fragrance oils provide the best scent throw and longevity. At House of Scent, we offer premium, undiluted fragrance oils that mimic popular scents while maintaining exceptional performance.
- Check Usage Rates: You can use up to 10% fragrance oil when making wax melts.
- Experiment with Blends: Create your own custom scents by blending different fragrance oils. For example, try combining lavender with vanilla for a relaxing blend or citrus with sandalwood for something fresh yet grounding. Pleasure ensure you have the relevant regulatory documentation created including a new SDS if you are blending your own fragrance oils to ensure that you remain compliant
- Stay Seasonal: Match your fragrance oils to the season. Opt for fresh, fruity scents in summer, spicy and woody scents in autumn, and warm, cosy fragrances in winter.
Step 5: Add Colour (Optional)
If you want to add colour to your wax melts, now is the time! Use candle-safe dyes or mica powders, and add them sparingly to the melted wax. Stir until the colour is even distributed once you have added your fragrance oil.
Step 6: Pour the Wax
Once your wax is fully mixed with the fragrance oil and at the ideal pouring temperature, carefully pour it into your silicone moulds. Pour slowly to avoid air bubbles, and fill each cavity evenly.
Step 7: Let the Wax Set
Allow the wax to cool and harden completely at room temperature. This can take anywhere from 4 to 12 hours, depending on the wax type and mold size. Avoid moving or disturbing the molds during this time to ensure a smooth finish.
Step 8: Remove and Cure
Once the wax has fully set, gently pop your wax melts out of the molds. For the best results, let your wax melts cure for 1-2 weeks. This allows the fragrance oils to fully bond with the wax, enhancing both the scent throw and longevity of your melts.
Storing and Using Wax Melts
To keep your wax melts fresh and fragrant, store them in an airtight container or resealable bag away from direct sunlight and heat. When you’re ready to use them, simply place one or two melts in a wax warmer, and enjoy as the fragrance fills your space.
Common Troubleshooting Tips
- Weak Scent Throw: If your wax melts aren’t as fragrant as you’d like, make sure you’re using the right amount of fragrance oil and letting them cure properly.
- Frosting or Discoloration: This is common with natural waxes like soy. Minimize frosting by ensuring the wax isn’t overheated and by pouring at the recommended temperature.
- Wax Sticking to the Mold: Use silicone molds for easy removal. If the wax still sticks, try placing the mold in the freezer for a few minutes before popping the melts out.
Why Fragrance Oils Are the Key to Amazing Wax Melts
Fragrance oils are the heart of every wax melt, and choosing the right ones can make all the difference. With high-quality fragrance oils, your melts will have a strong, consistent scent throw that transforms any room into a fragrant haven. At House of Scent, we offer a wide variety of undiluted fragrance oils designed specifically for wax melts, so you can create products that smell incredible and perform beautifully.
Final Thoughts
Making wax melts is a fun and rewarding craft that lets you enjoy beautiful fragrances in a safe, flame-free way. By using high-quality materials, especially fragrance oils, and following the steps above, you’ll be able to create wax melts that are not only beautiful but also long-lasting and full of character.
Ready to start your wax melt journey? Explore our range of premium fragrance oils and crafting supplies at House of Scent, and bring your fragrant creations to life!


