
Table of Contents
Soapmaking is a fun and creative craft. If you’re new to soapmaking, How to Make Melt and Pour Soap is a fantastic place to start. This beginner-friendly method is ideal for anyone learning how to make melt and pour soap safely and easily at home.
Unlike cold process soap, melt and pour bases have already undergone saponification — meaning the chemical reaction that turns oils into soap has already happened. This makes learning how to make melt and pour soap safe, simple, and accessible for beginners. While you cannot alter the base chemistry like with cold process soaps, understanding how to make melt and pour soap allows you to customise your bars with fragrance oils, colourants, botanicals, and exfoliants to create unique results.
If you plan to gift or sell your soaps, it’s important to use fragrance oils within IFRA guidelines to ensure safe skin contact and comply with regulatory standards. Additionally, if gifting or selling commercially, the product should have a CPSR (Cosmetic Product Safety Report) to confirm safety for consumers.
This guide will walk you through a detailed, step-by-step tutorial on how to make melt and pour soap, including tips on measuring, adding fragrance, and handling your soap safely.
What Is Melt and Pour Soap?
Melt and pour soap is a pre-made soap base that has already been saponified. Unlike cold process soap, which requires mixing oils and lye and waiting for curing, learning how to make melt and pour soap only requires melting, customising, and pouring the base into moulds.
While the base itself cannot be chemically altered, when learning how to make melt and pour soap you can add:
Fragrance oils (up to safe levels, typically 3% of the base weight)
Colourants (mica, neon pigments, or soap-safe dyes)
Botanicals (dried flowers, oatmeal, herbs)
This makes melt and pour soap ideal for beginners and for crafting gifts without handling caustic lye. For gifting/commercial purposes, always check fragrance usage against IFRA guidelines and ensure a valid CPSR is in place.
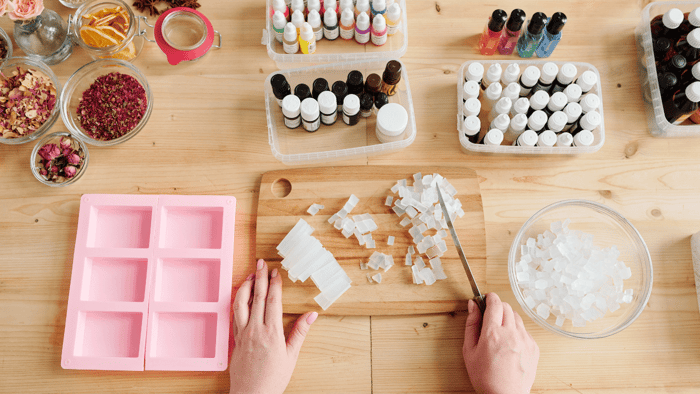
Materials You’ll Need
Before starting how to make melt and pour soap, gather these items:
Melt and Pour Soap Base – Cut into cubes for easier melting
Fragrance Oil – Stick to fragrance oils only for this tutorial. Recommended max: 3% of base weight
Colourants – Soap-safe mica or neon pigments. Max 1% of base weight
Botanicals or Exfoliants – Optional for texture or decoration
Silicone Moulds – Easy release and reusable
Microwave-Safe Jug or Heatproof Bowl – For melting the soap
Digital Scales – To weigh both the soap base and fragrance accurately
Spatula or Spoon – For stirring
Funnel – Optional, for neat pouring
Isopropyl Alcohol Spray – Helps disperse pigments and remove bubbles
Protective Gear – Apron and gloves to protect clothing and hands
Isopropyl Alcohol
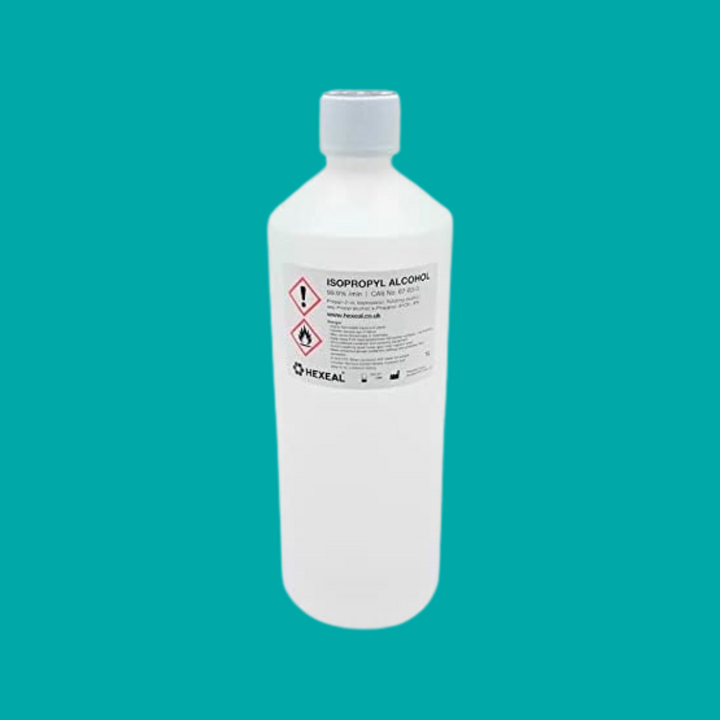
£7.99
A versatile essential for crafting and soap making. ISO can be used to mix with mica powders to create vibrant paints. Simply combine mica powder with a small amount of ISO to form a smooth, paint-like consistency. Use a fine brush… read more
Step-by-Step Tutorial: How to Make Melt and Pour Soap
Step 1: Prepare Your Workspace
Make sure your work area is clean, organised, and free of clutter. This is an essential first step when learning how to make melt and pour soap hygienically and safely.
Step 2: Weigh the Soap Base
Use digital scales to weigh your desired amount of soap base. Cut into small, even cubes — smaller pieces melt more evenly and prevent scorching.
Step 3: Weigh the Fragrance and Colourants
Next, weigh out your fragrance oil carefully. The recommended maximum is 3% of the soap base weight. For example:
If your soap base weighs 500 g, the maximum fragrance oil would be 15 g.
If your soap base weighs 1,000 g, use up to 30 g of fragrance oil.
For colourants, the guideline is up to 1% of the soap base weight. For example:
500 g soap base → 5 g of mica or neon pigment
1,000 g soap base → 10 g of mica or neon pigment
If using mica or neon pigments, you can mix them directly into the melted soap base, or first disperse them in a few drops of isopropyl alcohol to prevent clumping. Stir gently to ensure even colour distribution.
Tip: Overusing colourants can cause them to sink to the bottom of your soap.
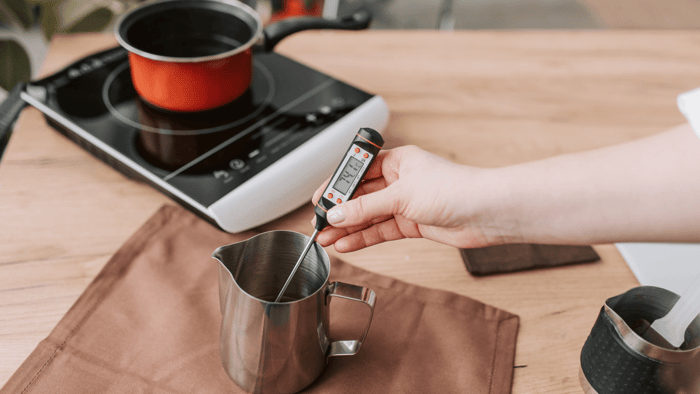
Step 4: Melt the Soap Base
Melt your soap using a microwave or double boiler. Heat in short 30–60 second bursts, stirring in between. Aim for 65–70°C and avoid boiling, which can scorch the soap.
Step 5: Add Fragrance and Colour
Once melted, add your fragrance oil and colourants. Stir gently to ensure even distribution. A light spray of isopropyl alcohol helps disperse pigments and reduce bubbles.
Step 6: Pour Into Moulds
Carefully pour your soap into silicone moulds. Botanicals or exfoliants can be added at this stage if desired.
Step 7: Remove Bubbles
Spray a light mist of isopropyl alcohol over the surface to remove air bubbles.
Step 8: Allow to Set
Let the soap cool and harden at room temperature for 2–4 hours. Once firm, gently remove from the moulds.
FAQs
1. Can I customise the soap like cold process soap?
No. Melt and pour soap has already been saponified, but learning how to make melt and pour soap still allows for creative customisation using fragrance, colour, and additives.
2. How much fragrance should I add?
Up to 3% of the soap base weight. Always follow IFRA guidelines.
3. How do I remove bubbles?
A light spray of isopropyl alcohol after pouring removes surface bubbles.
4. Do I need a CPSR if selling or gifting?
Yes. A CPSR confirms the product meets cosmetic safety requirements.
Tips for Success
Always measure ingredients by weight, not volume
Follow IFRA fragrance usage limits
Obtain a CPSR before gifting or selling your soaps.
Start with small batches when experimenting before batch production
Silicone moulds make unmoulding easier
Use botanicals sparingly to maintain bar hardness
Isopropyl alcohol helps with bubbles and pigment dispersion
Final Thoughts
Learning How to Make Melt and Pour Soap is perfect for beginners and crafters who want fast results with creative flexibility. With the right materials, careful measuring, and patience, you can produce beautiful, customised soaps without the hazards of lye handling. Following proper guidelines ensures your soaps are not only fun to make but also safe for anyone to use.
Disclaimer
The information provided in this blog is for educational and informational purposes only, based on the knowledge and experience of House of Scent at the time of writing. Results may vary depending on ingredients, formulations, concentrations, and individual methods, and readers are encouraged to carry out their own testing before producing or selling any finished products.
It is the reader’s responsibility to ensure product safety, conduct appropriate testing, and comply with all applicable regulations, guidelines, and legal requirements, including cosmetic and chemical safety standards where relevant. House of Scent accepts no responsibility or liability for any losses, damages, or outcomes resulting from the use of the information provided in this blog.
FAQs
What Is Melt and Pour Soap?
Melt and pour soap is a pre-made soap base that has already been saponified. Unlike cold process soap, which requires mixing oils and lye and waiting for curing, learning how to make melt and pour soap only requires melting, customising, and pouring the base into moulds.
How long does melt and pour soap last?
When stored correctly in a cool, dry place, melt and pour soap can last 12–24 months. Finished soaps should be wrapped to prevent moisture absorption and fragrance loss. Always label products with appropriate batch information if selling or gifting.