
Table of Contents
- What Is a Container Candle?
- Why Use Container Wax?
- Equipment and Materials You’ll Need
- Step 1: Choose the Right Wick
- Step 2: Prepare the Container
- Step 3: Weigh and Melt the Wax
- Step 4: Adding Colour
- Step 5: Add Fragrance Oil
- Step 6: Pour the Candle
- Step 7: Allow to Set and Cure
- Common Container Candle Issues (and Why They Happen)
- Safety Considerations
- Why Container Candles Are Ideal for Beginners
- Final Thoughts
- Diclaimer
- FAQs
Container candles are one of the most popular candle types for beginners and experienced makers alike. They’re practical, versatile, and allow for endless creativity with fragrances, colours, and vessel styles. If you’ve been curious about How to Make a Container Candle, this step-by-step guide will walk you through the process while also explaining the why behind each stage — from choosing the correct wax to understanding fragrance percentages and wick selection.
Unlike pillar candles, container candles are designed to burn safely inside a vessel, making them ideal for home use, gifting, or selling. This guide focuses specifically on container candle making, helping you achieve a safe, clean burn and a professional finish.
What Is a Container Candle?
A container candle is a candle poured directly into a heat-safe container, such as glass jars, tins, or ceramic vessels. The container holds the wax as it melts during burning, preventing wax from dripping or losing its shape.
This is different from pillar candles, which must be made using harder pillar waxes that are designed to stand alone and release from moulds. Container waxes are softer, have better adhesion to vessels, and are formulated to provide an even melt pool without collapsing. When learning How to Make a Container Candle, choosing the correct wax is one of the most important foundations for success.
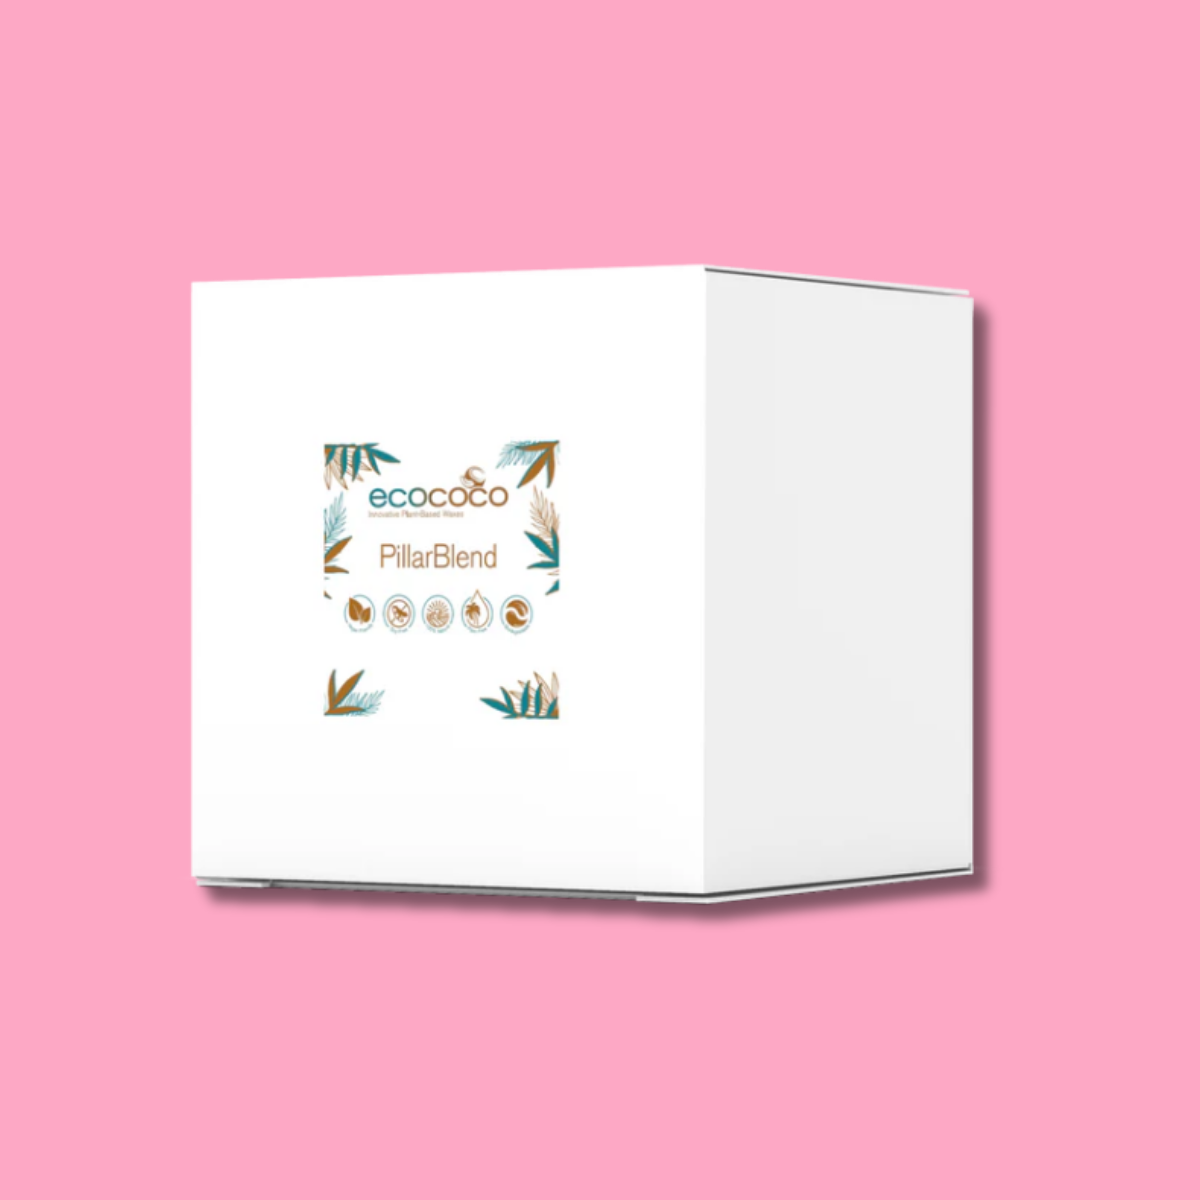
Why Use Container Wax?
Container waxes are specifically engineered for use in jars and vessels. They offer several advantages:
Better adhesion to container sides
Smoother tops with fewer surface imperfections
Excellent fragrance retention and scent throw
Safer burn behaviour within enclosed containers
Pillar wax, on the other hand, is harder and shrinks away from moulds. Using pillar wax in a container often leads to tunnelling, poor scent throw, and adhesion issues. For this reason, always use a wax labelled as container wax when making jar candles.
Equipment and Materials You’ll Need
Before you begin, prepare your workspace and gather the following items:
Materials
Container candle wax > 🔗Browse House of Scent Container Waxes
🔗Fragrance oil (suitable for candles)
Heat-safe container (glass jar, tin, or ceramic vessel)
Wick (appropriate size for your container)
Equipment
Digital weighing scales
Stainless steel or glass pouring jug
Melting pot
Stainless steel pan (for a double boiler)
Thermometer or digital probe
Wick stickers or heat-resistant adhesive
Wick centring tool or chopsticks
Metal spoon or stirrer
PPE: nitrile gloves, apron, surface protection
Always work on a protected surface and wear suitable protective equipment to avoid burns or spills.
Step 1: Choose the Right Wick
Wicking is one of the most important — and most misunderstood — parts of How to Make a Container Candle. The correct wick size is based primarily on the diameter of your container, not the height.
If a wick is too small, the candle may tunnel and fail to create a full melt pool. If it’s too large, the candle may burn too hot, produce soot, or crack the container.
Most reputable wick suppliers provide wick size charts, which act as an excellent starting point. These charts match container diameters with recommended wick sizes for specific wax types. While testing is always advised, these guides remove much of the guesswork for beginners.
Step 2: Prepare the Container
Before melting your wax, prepare your container:
Clean and dry thoroughly
Attach the wick to the centre using a wick sticker/glue dot or heat-resistant adhesive
Secure the wick upright using a centering tool or chopsticks
A centred wick ensures an even burn and symmetrical melt pool, which is essential for both safety and appearance.
Step 3: Weigh and Melt the Wax
Place your melting pot on the digital scales and weigh out your chosen container wax. Always measure by weight rather than volume for accuracy.
Set up a double boiler by half-filling a pan with water and placing the melting pot inside. Heat gently using a low to medium setting.
Insert your thermometer as the wax melts. Melting temperatures vary depending on the wax used, so always refer to the manufacturer’s guidance. Many container waxes melt between 70–85°C, but this is not universal.
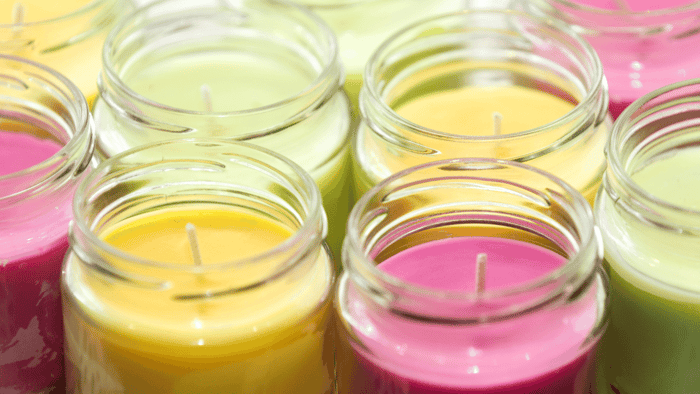
Step 4: Adding Colour
Colour is an optional but popular addition when learning How to Make a Container Candle, allowing you to customise candles to suit seasons, fragrances, or branding. Container candles can be coloured using liquid candle dyes or dye chips, both of which are designed specifically for use in wax.
Types of Candle Colourants
- Liquid Candle Dyes
Liquid dyes are highly concentrated and easy to control. They are added in small drops and are ideal for achieving consistent, repeatable shades. Because of their strength, a little goes a long way — it’s always best to start with a small amount and build colour gradually. - Dye Chips
Dye chips are solid, pre-measured colour blocks. They offer good colour stability and are useful when making larger batches, as they provide more predictable results. Dye chips should be fully melted into the wax before pouring to avoid speckling or uneven colour.
Always ensure the colourant you choose is specifically designed for candle making. Micas and cosmetic pigments are not suitable for container candles, as they can clog the wick and affect burn performance.
When to Add Colour
Colour should be added once the wax has fully melted and before fragrance oil is incorporated. This allows the dye to dissolve evenly and makes it easier to adjust the shade before scent is added.
Melting and colour incorporation temperatures will vary depending on the wax used, so always refer to the wax manufacturer’s guidelines.
Add liquid dye drop by drop, stirring thoroughly between additions
Add dye chips and allow them to melt completely before proceeding
Take into account that wax appears darker when melted and lighter once set. Testing is essential to achieve your desired finished colour.
Colour and Burn Performance
When learning How to Make a Container Candle, it’s important to understand that colour can affect how a candle burns. Over-colouring may lead to:
Reduced flame performance
Increased soot
Wick clogging
For best results, use the minimum amount of dye needed to achieve your desired shade and always test burn your candle after curing.
Tips for Best Colour Results
Keep notes of dye amounts for consistent batches
Test colour in a small sample before scaling up
Avoid mixing different dye brands unless tested
Ensure dye is fully dissolved before pouring
Colour should enhance your candle visually without compromising safety or performance.
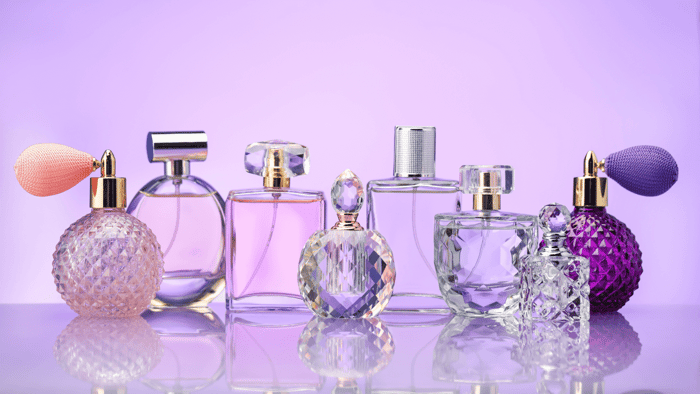
Step 5: Add Fragrance Oil
Once the wax is fully melted, allow it to cool slightly before adding fragrance oil. The ideal temperature for fragrance addition depends on the wax type, so check the wax description or technical data.
For container candles, the recommended fragrance oil percentage is typically 5–10% of the wax weight. Some fragrance oils are stronger than others, and in many cases, less is more. Using too much fragrance can affect burn performance, cause sweating, or reduce scent throw.
Stir gently but thoroughly for around 90 seconds to ensure the fragrance is fully incorporated.
This step is a key part of How to Make a Container Candle properly, as poor mixing can lead to uneven scent distribution.
Step 6: Pour the Candle
Allow the wax to cool to the recommended pouring temperature, which again varies depending on the wax used. Pouring too hot can cause sinkholes or wet spots, while pouring too cool may result in rough or uneven tops.
Pour the wax slowly into the prepared container, keeping the wick centred. Avoid moving the candle while it sets, as this can cause surface imperfections.
Step 7: Allow to Set and Cure
Once poured, leave the candle to cool at room temperature. Avoid drafts, vibrations, or rapid temperature changes.
Most container candles benefit from a curing period of 7–14 days, depending on the wax and fragrance used. This allows the fragrance to fully bind with the wax, improving scent throw during burning.
Patience is a key part of learning How to Make a Container Candle that performs well.
Common Container Candle Issues (and Why They Happen)
Understanding common problems helps you troubleshoot more effectively:
Tunnelling: Wick too small or not enough burn time
Sooting: Wick too large or fragrance overload
Wet spots: Temperature changes or wax adhesion behaviour
Sinkholes: Wax poured too hot or cooled too quickly
Many of these issues can be resolved through proper wick selection, temperature control, and testing.
Safety Considerations
Container candles must always be burned responsibly:
Use heat-safe containers only
Never leave a burning candle unattended
Keep away from children and pets
Trim the wick to 5–7 mm before each burn
Stop burning when 10–15 mm of wax remains
Safe candle making and usage go hand in hand.
Why Container Candles Are Ideal for Beginners
If you’re just starting out, container candles are an excellent entry point because:
They’re forgiving compared to pillars
Wax doesn’t need to be released from moulds
They allow for easier scent experimentation
Wick guides simplify sizing decisions
This is why so many candle makers begin by learning How to Make a Container Candle before moving on to more advanced techniques.
Final Thoughts
Learning How to Make a Container Candle is a rewarding process that blends creativity with practical skills. By using the correct container wax, following fragrance guidelines of 5–10%, respecting wax-specific temperatures, and selecting the right wick based on container diameter, you can create candles that look beautiful and burn safely.
With practice, testing, and patience, container candle making can evolve from a hobby into a polished craft — whether you’re making candles for your own home, thoughtful gifts, or future business ventures.
Master the basics, respect the science behind the wax, and enjoy the art of candle making.
Diclaimer
This blog is for informational purposes only. While we aim to provide clear guidance on how to make a container candle, candle making involves hot wax and fragrance oils and should always be carried out with care. Melting, fragrance, colouring, and pouring temperatures can vary depending on the wax used, so always refer to the manufacturer’s instructions.
If you plan to gift or sell your container candles, ensure you follow appropriate safety guidance, including correct fragrance usage, wick selection, and compliant labelling where required. Always use heat-safe containers, suitable candle dyes, and carry out test burns to ensure safe performance. Keep candles out of reach of children and pets. House of Scent is not liable for any loss, damage, injury, or adverse effects arising from the use of information provided in this blog. All candle making activities are undertaken at your own risk.
FAQs
What Is a Container Candle?
A container candle is a candle poured directly into a heat-safe container, such as glass jars, tins, or ceramic vessels. The container holds the wax as it melts during burning, preventing wax from dripping or losing its shape.
This is different from pillar candles, which must be made using harder pillar waxes that are designed to stand alone and release from moulds. Container waxes are softer, have better adhesion to vessels, and are formulated to provide an even melt pool without collapsing. When learning How to Make a Container Candle, choosing the correct wax is one of the most important foundations for success.